
How to Pack a Kayak Dry Bag for Multi-Day and Overnight Trips
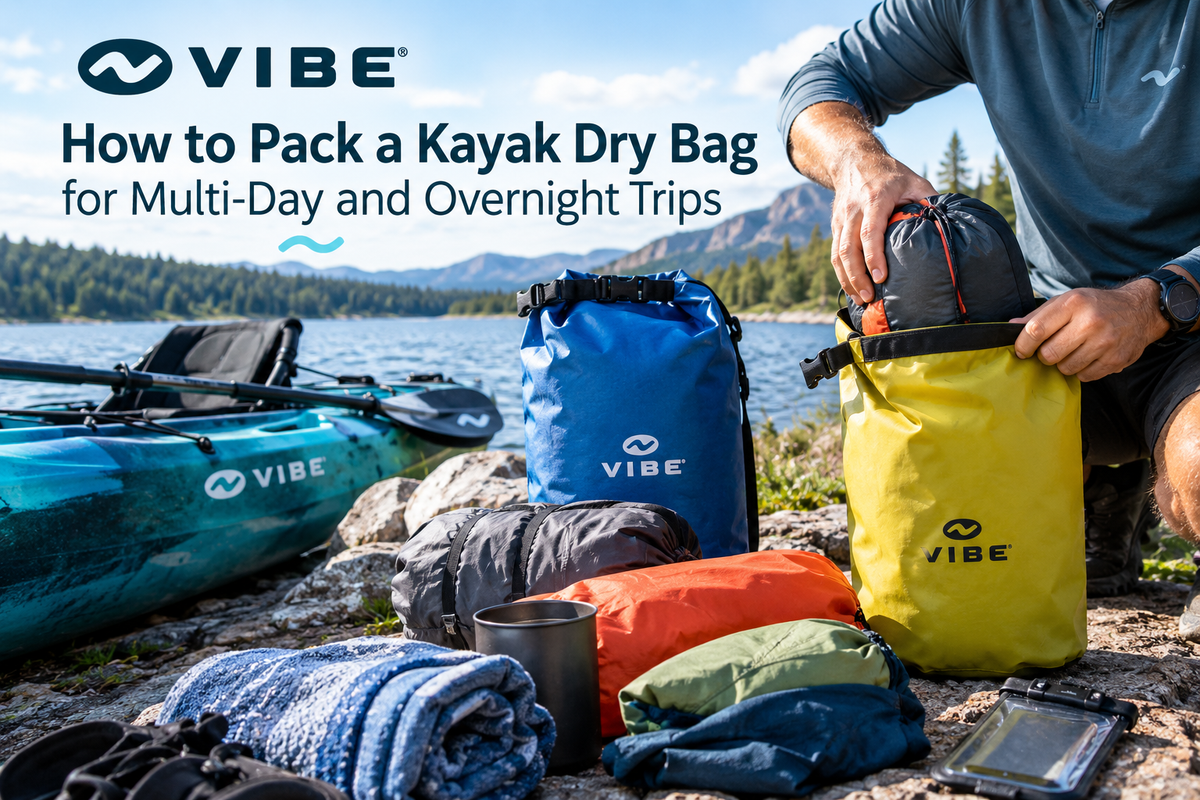
Knowing how to pack a kayak dry bag properly can make or break a multi-day paddling trip. Toss gear in randomly, and you'll end up digging through a soggy pile for your headlamp at midnight or fighting a kayak that lists to one side all day. Whether you're heading out for a weekend overnight or a week-long river expedition, the way you pack matters just as much as the gear you bring.
At Vibe Kayaks, we hear from paddlers constantly asking how to fit a full camp kit into limited hatch space without sacrificing dryness or balance. This guide walks through a repeatable packing system, from gear checklist to loading order, so your next trip stays organized, dry, and properly trimmed on the water.
Why Multi-Day Kayak Trip Packing Requires a Different Strategy
A day trip only needs a snack, a phone, and maybe a rain jacket. Multi-day kayak trip packing is a different problem entirely, since you're now managing sleep systems, cooking gear, extra clothing layers, and food for several days, all while keeping the kayak's center of gravity low and balanced. Overpacking one hatch while under-loading another creates handling problems in wind or current, so a structured packing approach isn't optional once you're camping overnight. For a broader look at dry bag styles suited to different paddling trips, our buying guide is a useful starting point before you shop.
Building Your Overnight Kayaking Gear Checklist
Before packing anything, lay out your full kit. A solid overnight kayaking gear checklist typically includes:
-
Sleep system: tent or tarp, sleeping bag, sleeping pad
-
Cooking setup: stove, fuel, cookware, water filter or purification tablets
-
Clothing layers: base layer, insulating layer, rain shell, spare socks
-
Food packed by day, with extra rations for delays
-
First aid kit, headlamp, and navigation tools
-
Repair kit for your kayak, paddle, and gear
-
A separate pouch for your phone and camera; see our electronics dry bag guide for setup options
Sorting gear by category before it goes into bags makes the next step, distributing weight properly, far easier.
How to Pack a Kayak Dry Bag: Step-by-Step
Layering Technique for Waterproof Gear Organization
Good waterproof gear organization starts with a layering system inside each bag:
-
Place items you won't need until camp (sleeping bag, extra clothing) at the bottom
-
Add mid-trip items like snacks, a water filter, and a first aid kit in the middle
-
Keep frequently accessed gear such as sunscreen, snacks, or a map near the top or in a separate small dry bag
-
Seal each bag with the air pushed out to improve buoyancy and prevent shifting
Splitting gear into smaller dry bags by category, rather than one giant bag, also makes it easier to keep camp organized once you're off the water.
Weight Distribution and Balance
Heavier items like food and water should sit low and centered in the kayak, close to the seat, to keep the boat stable. Lighter gear, such as sleeping bags or clothing, can go toward the bow and stern. Uneven loading is one of the most common reasons paddlers struggle with tracking on multi-day trips, so take a moment to balance side to side and front to back before launching.
Best Practices for Kayak Camping Dry Bag Setup
A well-organized kayak camping dry bag setup isn't just about capacity. Keep these practices in mind:
-
Use color-coded or labeled bags so you can identify contents without opening every one
-
Double-bag critical items like matches, electronics, or medications for backup protection
-
Compress soft goods like sleeping bags to free up hatch space
-
Leave a small buffer of space rather than packing bags to their absolute limit, since overstuffed bags seal less reliably
If you are unsure how many liters you actually need across your gear categories, our liter capacity guide breaks sizing down by trip length and gear type.
Dry Bag Packing Tips for Multi-Day Trips
A few extra dry bag packing tips worth remembering:
-
Pack food for each day in its own smaller bag to avoid digging through a bulk supply
-
Store your rain shell somewhere you can reach it without unpacking your whole hatch
-
Keep phones, cameras, and other devices in their own dedicated pouch rather than mixed in with clothing
-
Do a final seal check on every bag before loading, since a missed roll-top is the most common cause of soaked gear
-
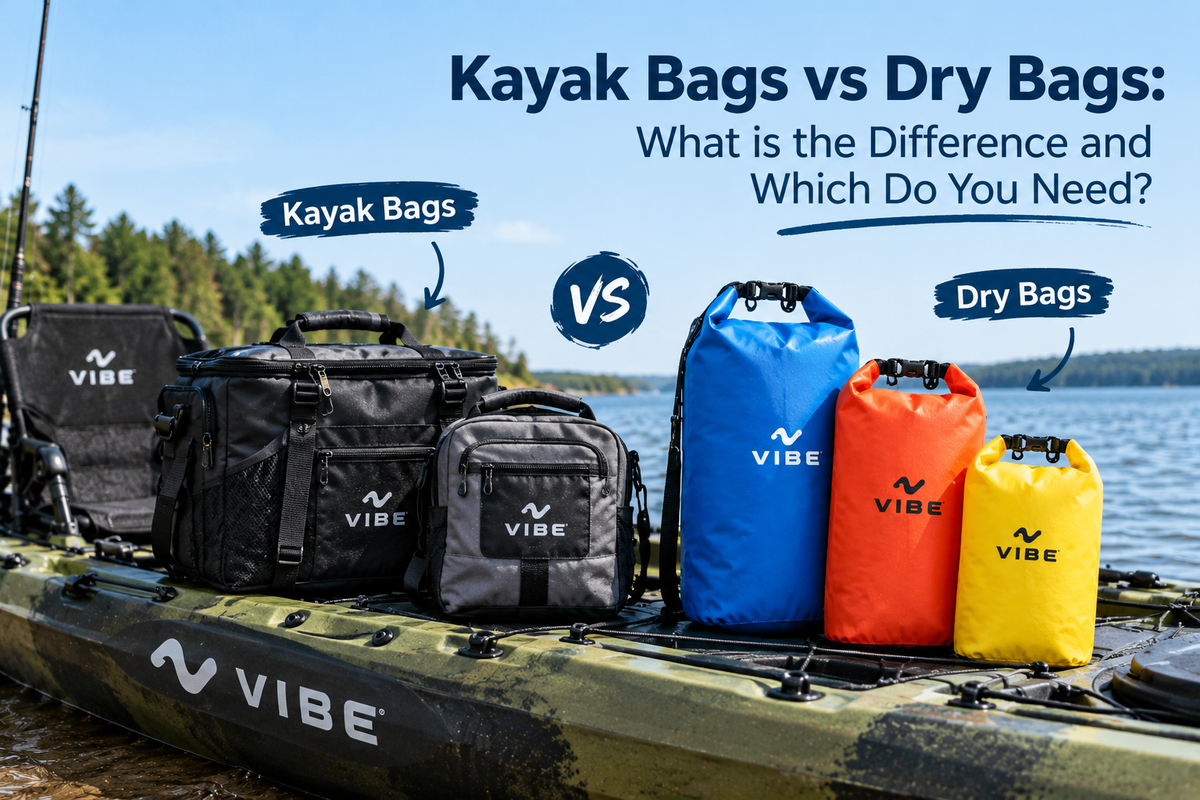
If you're still deciding between a backpack-style bag and a traditional dry bag for camp gear, our bag type comparison can help you choose
Final Thoughts
Packing a kayak dry bag well comes down to sorting your gear, layering it correctly, and balancing weight across your boat before you ever leave the shore. With a repeatable system in place, multi-day trips become far less stressful and far more enjoyable. Browse our full dry bags collection at Vibe Kayaks to build out the right setup for your next overnight paddling trip.
Frequently Asked Questions
1. How many dry bags do I need for a multi-day kayak trip?
Most paddlers use three to five dry bags: one for sleep gear, one for clothing, one for food, and a smaller one for electronics or first aid, plus additional bags depending on trip length.
2. What size dry bag is best for overnight kayaking trips?
A 20 to 35 liter dry bag typically covers sleep systems and clothing, while smaller 5 to 10 liter bags work well for food, electronics, and first aid items.
3. Should I pack heavy items at the top or bottom of a dry bag?
Pack heavier, less-needed items at the bottom and lighter, frequently used items near the top, while overall boat weight should stay low and centered.
4. How do I keep my sleeping bag dry inside a kayak dry bag?
Compress your sleeping bag into a stuff sack first, then place it inside a fully sealed dry bag with excess air pushed out for added protection and buoyancy.
5. Can I use one large dry bag instead of several smaller ones?
You can, but smaller, category-specific bags make packing, unpacking, and keeping gear dry at camp far more manageable than one oversized bag.
 30 days money back guarantee
 Secure and certified online shop
 1000+ Happy customers