How to Catch & Release Fish Safely & Responsibly
Most kayak anglers are 100% focused on the catch every time we hit the water, however, one aspect of fishing which is way too often overlooked is how to properly care for, handle, and release the fish you’ve caught. The fish you gently release today can be caught by someone else (or yourself) tomorrow.
"Catch and release" is as important as anything else in kayak fishing, or angling in general, so knowing how to treat your fish when you catch it is an important skill to growing as an angler and a custodian of our precious waters, because we all want to (1) ensure continuous healthy populations of our fave game fish, (2) respect the treatment of a beautiful living creature, (3) your own safety so you avoid a hook in the hand or elsewhere, and (4) using the proper catch-and-release techniques will also ensure you capture better photos during the crazy chaos that often comes with trying to land a fish in your kayak.
Treating the fish carelessly and then tossing it back does no good if it’s so damaged that it'll suffer or die regardless. Fortunately there are some easy ways to ensure the long term health of the gamefish that we chase so passionately, especially when fishing from a fishing kayak.
Top Catch & Release Gear
Preparation is the key to any good fishing, and this holds true when it comes to kayak fishing catch and release gear. The most important items are a rubber mesh net, pliers, The Fish Grip lip grippers, a knife, and fishing gloves.
Why a rubber mesh net? It helps keep a fish’s protective slime coating intact by reducing friction against their scales. Some fish are heartier and can endure more than others, but rubber certainly helps and is an easy adjustment to make when ordering your next landing net. As a bonus, tangled hooks are much more easily removed from rubber nets than regular mesh netting.
A Fish Grip is super important as you'll read about more below, but it also ensures fish are treated as gently as possible while also delivering superior control landing a fish in your fishing kayak.
Fingerless sun gloves are also awesome if you haven’t tried them before. They’ll allow retention of rod sensitivity and knot-tying ability while preventing sunburn and keeping hurtful spiny fins out of your hands when handling a fish.
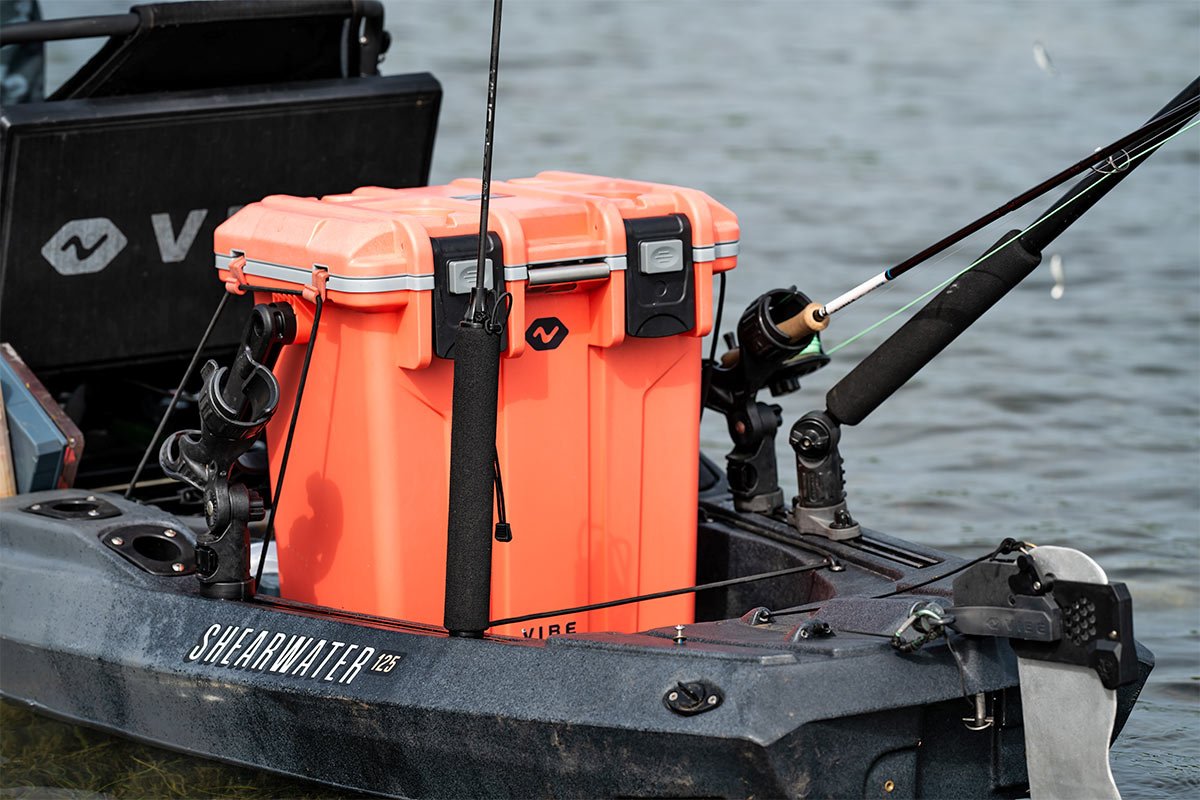
As far as storage, you’ll need all of these items in a pinch, not buried in a hatch or tank well. You can attach most of this gear via burgees or retractable tethers, as well as smaller items to your PFD. The net can either be behind your seat to avoid tangles, or attached via a tether. Try a few different setups and see what works best for you and your fishing kayak.
Lastly, if you use a tripod, selfie stick, or camera mount, make sure your phone or camera is securely attached before leaving shore. If you have a fish at the kayak and haven’t set up for a photo yet, the time it takes to do so is time that fish is in distress and, if the water is warm, you may be inflicting serious harm without realizing it.
Over time, narrowing down the gear you bring on fishing trips will happen naturally. The main takeaway here is to do your best to keep the fish healthy by at least starting out with the right catch and release gear.
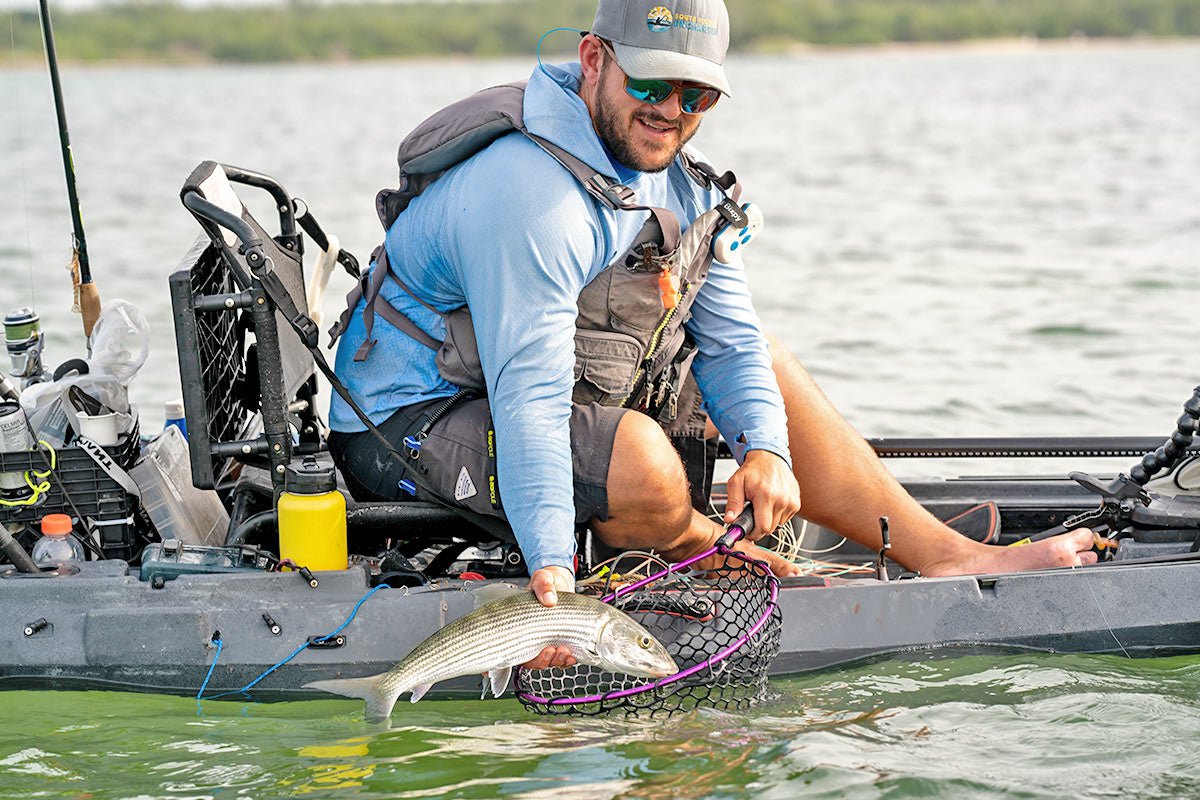
First Net, Then Lip. Never "Flip"
When landing a fish, you need to keep in mind the order you need to take to quickly and safely do so. The order should be "First Net, Then Lip. Never Flip."
For most fish, leading them into the net is a good first step. It buys time to organize, then grab the fish by the lip, then prep for a photo, prior to a gentle release. If your catch is too big for a net, then start the landing process by lipping the fish with your hand if possible, and then getting lip grips attached.
Since space is limited on a fishing kayak, and angry fish tend to send hooks into places we really don't want them, avoid “boat flipping” your fish into the kayak. Doing that just increases the chances of not only a hook pulling during the flip or going into you as the angry fish flops in your narrow kayak, but it increases the chances the fish could hurt itself while flopping around. No bueno.
Once the fish is netted, ideally keep it submerged if possible. Sometimes this just can’t be done for a variety of reasons, but if you can make it a part of your regular routine, the fish will be much better for it. This step is especially crucial in warmer summer temperatures, as fish mortality rates rise with increased handling during hotter months like July and August.
Often, this is also a great chance to remove the hooks, but sometimes we like photos with the lure still in the fish’s mouth, and that’s perfectly fine too. If that’s your plan, put the fish back in the submerged net after getting your hero shot. The less time that fish is out of its natural habitat, the better.
For some species, lipping the fish and removing the hook is easy to do. For others, watch those fingers! This is where lip grips come in handy. Some are metal, some are plastic, and some have built in scales, but all of them make handling sharp-toothed fish much easier and safer for all involved, and are truly important for proper catch and release. It'll be one of the best $15 you've ever spent.
Handling With Care
Once you lift the fish out of the water, here are some key tips that will help keep it healthy during that process (1) Never put your fingers into the gills, (2) When lifting a large fish out of the water, support its belly with your hand, and (3) Keep fish – especially larger ones – horizontal, rather than holding vertically. Fish live horizontally, so the vertical gravitational pressure on their insides can be harmful if kept so for too long.
Let 'Em Go & Let 'Em Grow
Carefully let the fish go, and ideally your fish kicks off strong and you can carry on to the next fishing spot. However, sometimes the bigger fish, especially those who battled for quite a bit, will need to be revived.
When reviving a fish, submerge their mouth and gills and move them in a slow "figure 8" pattern. This allows water to flow over their gills and lets them catch their breath. If you can turn the fish into any current, that'll help too.
For a sign they might be ready to go, feel for a gentle “bite” on your hand or look for their dorsal fin to rise. Eventually, you can gently push them off on their way. Sometimes a gentle grab of the tail will also serve as a final motivator for them to zip away into the depths.
Catch & Release Means They Survive & Thrive
Whether that is choosing to harvest a fish within legal limits and seasons to enjoy for the table, or follow these helpful tips for catch and release, we want fish to survive and thrive so that we and future generations can enjoy kayak fishing again and again. Tight lines!

 30 days money back guarantee
 1000+ Happy customers