How to Kayak for Beginners
Either you've just bought a kayak or thinking of doing so (and if you haven't bought one yet, here's a sweet, easy guide on how to buy a kayak) and now you're asking yourself "now what?"
Well, every paddler has to start somewhere as a beginner, and we're here to help you get off to the best and easiest start.
The Best Kayak For Beginners & The Best Kayak For You
First things first, you need to decide on what kayak will be the best kayak for you, and the best kayak will be the one that fits what you want to do on the water, and how you want to do it.
If you've already bought your kayak, great! You obviously think you know where you want to go, and what you want to do, and now you just need to know what to do next.
Again, if you haven't yet bought a kayak, hop over to read our awesome guide on how to buy a kayak. We recommend what's called a Sit-On-Top kayak versus a Sit-Inside kayak, as a Sit-On-Top is safer and arguably more versatile for more activities.
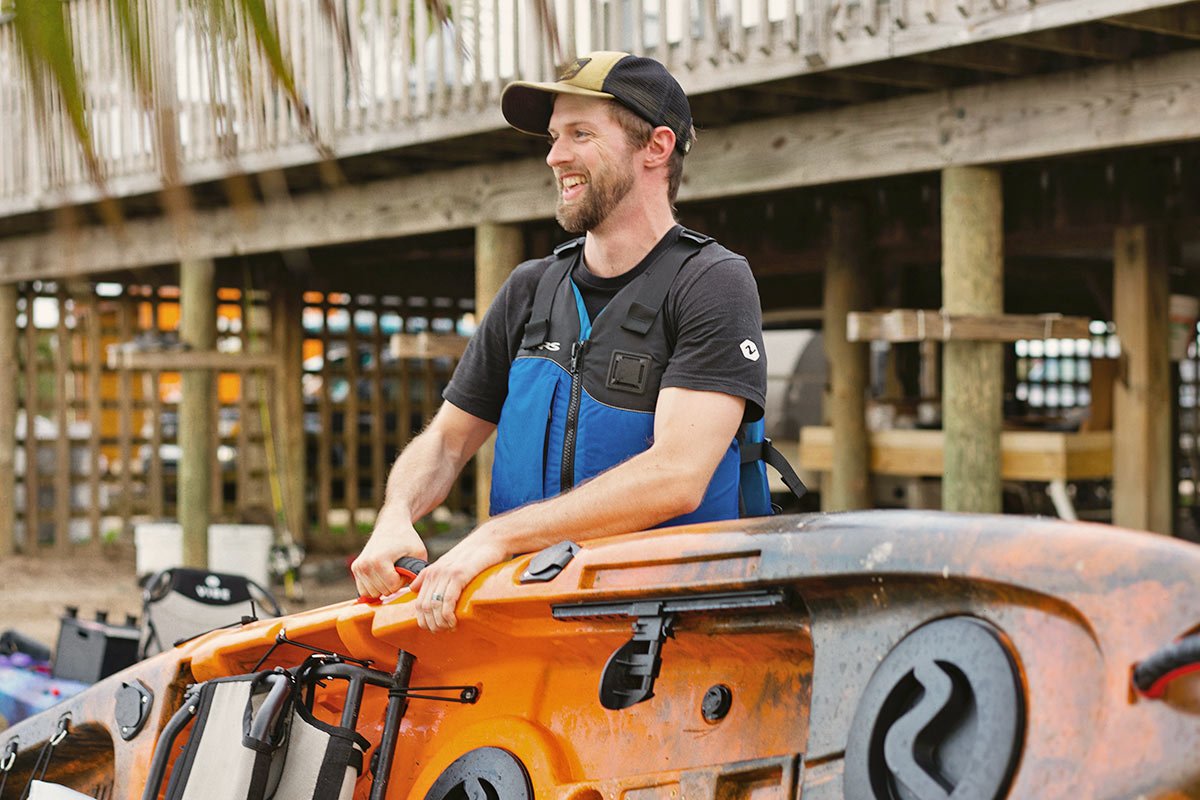
Once you have a kayak, the next thing is to focus on essential safety gear and clothing.
Kayak Safety Gear & Clothing
Essential beginner gear breaks down into "safety" gear and "basic" gear.
Basic safety gear starts and ends off with a good, Coastguard-approved PFD (Personal Flotation Device) that fits properly.
Additional safety gear might include a tethered cellphone-specific waterproof dry bag / case so that you don't lose your phone to the depths, and you can make an emergency call if and when needed. Having a first-aid kit secured somewhere is not a bad idea either, as is an emergency whistle.
Now for "basic" gear, you'll need a good quality basic paddle. Make sure the dealer or store you buy it from checks that it’s the right size for you.
Sunglasses are a smart option to protect your eyes from the sun, and if you're going t be doing any fishing, you'll want them to be polarized.
Proper clothing depends on where you'll be paddling and at what time of the year, and then it's a matter of common sense. If it's going to be hot, bring loose, full clothing to protect from sunburn and keep you cool enough, and a hat. If it's cold, or going to be wet, dress accordingly.
Keeping a dry bag on your kayak is always a good idea so you can put a spare change of clothing, or jacket, or your car keys, etc, or lunch or whatever, as well as lip balm and sunscreen.
Hydration is key no matter that time of the year it is or how long you'll be out on the water.
These items are enough to get you started for most any paddling outing for a beginner.
How to Adjust Your Kayak
A well-adjusted kayak to fit your size and personal preferences – to include keeping your essential gear close at hand – will be way more stable and comfortable to paddle.
Do your adjusting while the kayak is sitting on dry land, and focus on three points of contact:
Snug your butt firmly against the seatback. If your kayak lets you fine-tune the angle of the seat or seatback, do whatever feels most comfortable. For balance and power, though, you want to sit more upright.
Place the balls of your feet on the footpegs; then check to see if you have a slight bend in your knees. Most foot braces adjust by tilting them and sliding them along a track to preset stopping points. It’s often easier to get out of the kayak to slide the pegs.
How to Launch Your Kayak
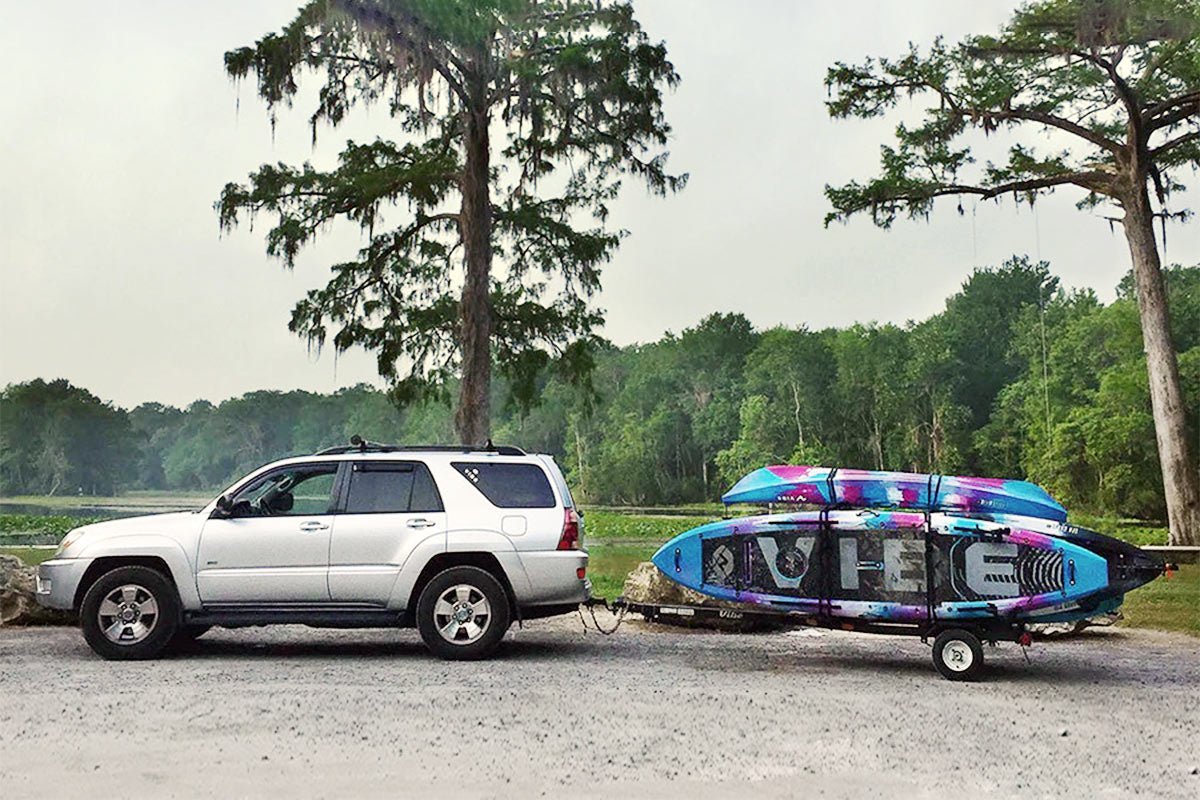
Most trips start off with a boat launch or a natural launch point from a gradually sloping shoreline.
Take care to avoid dragging the kayak's hull, especially on rocky, sandy or cement surfaces.
Get your paddle partner, or a kind stranger, to help you carry your kayak to your launch point.
Set it down in shallow water, perpendicular to the shoreline. (If you're launching into a river or have a very long kayak, then a parallel launch might work better.) For a perpendicular launch, the bow should face away from the shore and the stern should be close to the shore (but still fully afloat).
Put one of your paddle blades on the deck in front of you. The shaft can stick out sideways like an outrigger, you just want to have the paddle secured so you can grab it quickly and not have it fall overboard.
Stand over the kayak, straddling the seat or deck.
Grab the side of the kayak, or the seat's side, and set your butt down on the seat, then lift your legs and slide your feet across the deck onto the footpegs.
Now, scoot your butt firmly back into the seat and settle both feet more comfortably onto the foot pegs.
Then, grab your paddle and use it to push back from the shore, so that you have more water under the kayak so that it begins to float. You can now start to slowly and carefully paddle. Note that at first you may be very shallow in the water and have rocks or sand just below you. As you move further into deeper water it will be easier to paddle more effectively.
How To Manage Waves and Boat Wake
Many kayaks aren't as stable as Vibe's kayaks, but even Vibe kayaks need to approach bigger waves and larger boat wake with a strategy to avoid the possibility of capsizing.
You should always approach waves and boat wake head-on, rather than let your kayak have the waves come at you from the side – which can cause your kayak to capsize (or if you are in a Sit-In kayak, you can sink your kayak if it takes in too much water).
So, to reiterate, if you see waves coming toward your kayak, turn towards the waves and have the front of the kayak cut through them head on. If a wave or boat wake takes you by surprise, then it is better to turn towards the waves and meet them at an angle, than it is to have them strike the full side of your kayak. This is the number one reason why beginner kayaks will tip-over or capsize.
The second reason beginner paddlers can tip-over is if they try and stand up when they haven't practiced it close to shore, or they shift their body weight to the far side when they let a wave hit their kayak from the side. That causes the kayak to tip too much to one side, and that causes a kayak to capsize.
Getting Out Of Your Kayak Near Shore
When it comes time to get out of your kayak near the shore or boat launch, simply paddle into the same type of position as when you launched originally, and reverse steps until you're straddling your kayak again. You'll take hold of your kayak somewhere that is convenient, then take one of your legs and swing your foot over so you can plant it, then shift your butt out of your seat and stand.
It takes some practice to get the hang of it, but it's easy once you've done it a time or two.
How to Hold Your Kayak Paddle
Start by grasping your paddle with both hands and centering your paddle shaft on top of your head or in front of you between your shoulders. You hands will be in the proper starting position when your elbows are bent at about 90 degrees.
Now lower your paddle and orient it as follows so you’re holding it correctly:
Make sure the paddle blades are in line with each other. If you notice that the blades are offset from each other, your paddle may be “feathered.” If this is the case, take a minute to adjust the blades back in line via a push-button or twist setting in the center of the shaft. (Feathered blades cut through wind better, but are trickier to use for first-timers.)
Look at each paddle blade and make sure the longer edge of each blade is on the top. This is the correct position to help your blades move smoothly and efficiently through the water. (If your paddle blades are uniformly shaped, either side can be up.)
Beginner Tip: "Feathered paddles" are often angled in a certain way to make it easier and more efficient to paddle, but it can be difficult to tell which way is "up". A handy tip is that if you can read the name of the paddle brand when you are holding the paddle with both hands, then you have it "right way up". (Take a look at how many people have the paddle logo upside down and you'll know they are holding their paddles wrong, haha.)
Place your large knuckles on top of the paddle shaft so that they are in line with the top of your paddle blades.
Relax your grip. Make an “O” with your thumb and index finger, then lay your other fingers gently on the shaft. Gripping the paddle is unnecessary and tires out your hands more quickly.
The Basic Kayaking Strokes
There are many skills to consider when learning to kayak. Strokes and navigation are key.
The Forward Stroke
This is the stroke you'll do most of the time, so good technique pays dividends.
The catch phase: Wind your torso and immerse your blade fully on one side of the boat next to your feet.
The power phase: Rotate your torso as the blade moves behind you. Follow the in-water blade with your eyes and your torso will follow. Focus, too, on pushing against the shaft with your upper hand as you move.
The release phase: When your hand reaches just behind your hip, “slice” the blade out of the water.
To repeat, you simply immerse the out-of-water blade next to your feet. (Your torso will already be wound correctly.)
Technique tip: To maintain the paddle shaft at a comfortable angle as you stroke, “check the time” on an imaginary watch on your upper wrist.
The Reverse Stroke
This is the basic braking stroke. It can also move you backward if your kayak is already stopped.
It’s the exact opposite of a forward stroke: You immerse the blade next to your hip; the push is done with your lower hand; and you slice the blade out of the water when it nears your feet.
The Sweep Stroke
This is the basic turning stroke. If you do repeated forward strokes on the same side of the boat, you’ll notice that the boat slowly turns the other way.
The sweep stroke simply exaggerates this effect. The sweep is the same as a forward stroke, except that you alter the blade path so that it carves a much wider arc on the side of the boat. Sweep strokes on the right side of the boat will turn the boat left and left-side sweep strokes will turn the boat right.
Using Rudders
If your boat has a rudder, it sits at the back of the boat, and you use your foot pedals to control whether the boat moves left or right. Push the foot peg on the right and your boat will turn right (and vice versa on the left).
Most of Vibe's kayaks have rudders or offer the options of adding them.
Beginner Tip: Novices often use rudders incorrectly and often forget to pull them up in shallow water, which can cause damage.
For this reason – as a beginner – it’s simplest to leave them undeployed. However, you will want to practice using them, as rudders are awesome and critical for all kayakers as you get more comfortable with using them.
As a beginner, paddling without your rudder encourages you to learn better paddling techniques more quickly.
Additional Safety Precautions for Kayaking
Any time you head out on the water, it's a good idea to bring a paddling buddy. Certainly as a beginner until you are an "advanced paddler", you should always go with another paddler who can summon help or provide assistance.
Know the weather. Very important is to always have an idea for the weather conditions, and if you are in a geography where storms can come on quickly, then it;'s even more important. As a beginner, if you are unsure of the weather, don't be on the water.
Know your distance limit. If you haven’t had rescue training, never paddle farther from shore than you’re easily able to swim. (Near-shore areas are more interesting anyway.)
Do your hazard research for the area(s) you'll be paddling. Ask a knowledgeable local paddler about places to avoid, as well as currents, tides and weather forecasts.
Know your water temp. You should always dress for a capsize – at a minimum, that means some sort of wetsuit when the water is 60 F or less.
Check your PFD. Make sure it fits tightly and is only loose enough so that it won’t interfere with your breathing.
Don’t forget your whistle. The universal distress signal is three long blasts.
Consider taking a rescue class. And if you paddle anywhere on saltwater (or near the Great Lakes), classes that cover navigation, tides, currents and surf can help you avoid trouble in the first place.
Tips for Your First Time Kayaking
Make things easy on yourself:
Choose a small, calm body of water. Lakes or ponds with little or no powerboat traffic are ideal.
Find a gently sloping sandy beach to launch. Steep, mucky and rocky shorelines will be more challenging.
Go on a sunny, windless day. You’ll keep complications low and comfort high.
If it’s breezy, start out by paddling into the wind. Paddling into a headwind on your way back is a struggle; paddling with a tailwind is, well, a breeze.
Plan on a short paddling outing – not an expedition. Keep your paddling time to under two hours. There'll be plenty of time later for longer jaunts when you are more experienced and relaxed.
Keep these tips and info in mind when you hit the water and you'll do great! In no time, you'll leap from "beginner paddler" to on-water adventurer!
Good Vibes and happy paddling.
 30 days money back guarantee
 1000+ Happy customers