How to Install an Anchor Trolley
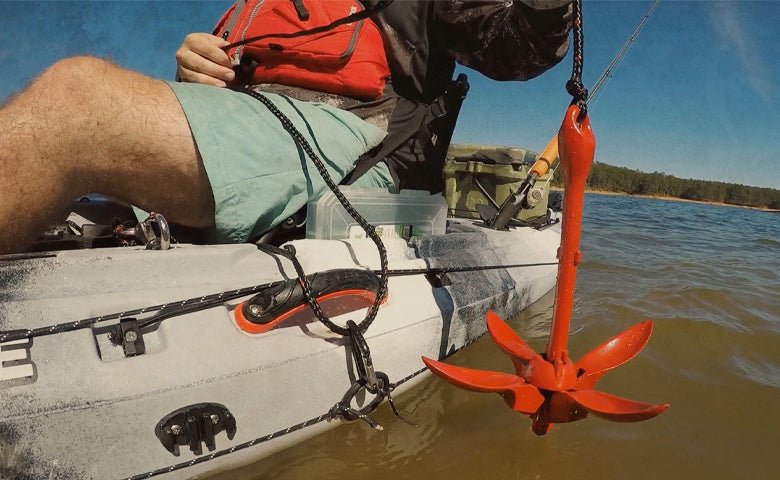
Seasoned kayak anglers usually do one thing to their boat before putting it on the water for the first time, and that is installing some sort of anchor system. Many anglers opt for an anchor trolley system. Simply put this is a pulley system that when used in conjunction with your anchor, can position your boat facing the direction you want, utilizing the current or wind to your advantage. This can be invaluable when you want to target a specific spot for longer than a few casts. Installation is pretty straight forward, though you will be drilling into your kayak for this, rest assured the Vibe lifetime hull warranty is not voided for drilling and installing modifications as long as they are not the direct cause of your claim. So, without further hesitation, lets get to it!
Things you will need include a drill and the appropriate bit (all kits are different, but they will tell you what size bit you need) a Philips head screwdriver, and some waterproof silicone.
Instructions:
- Lay out your kit to ensure that you have 2 pulleys, 2 or 3 pad eyes, a ring or triangle, a cleat or lever loc and the line, as well as the appropriate amount of hardware to mount everything.
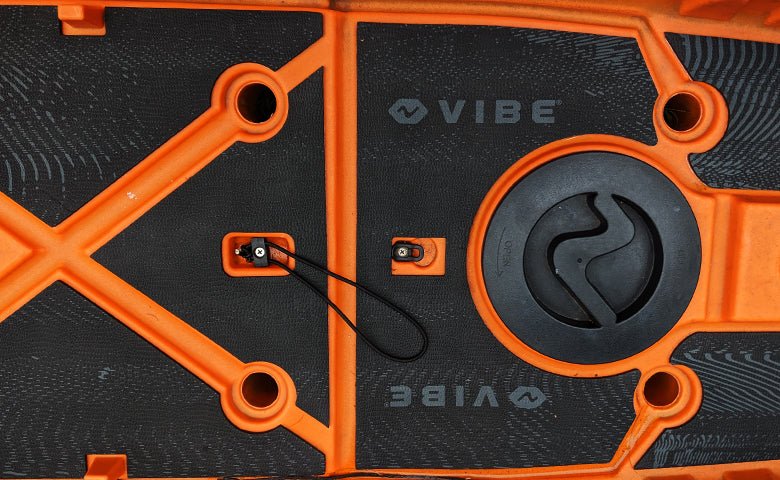
- Find a spot about 10” from the front of the kayak above the waterline, and place your pulley on the boat, using the hole on the pulley to guide you where to drill.
- Apply a dab of waterproof silicone to the hole before placing the pulley back on, and lightly screwing the first screw in.
- Rotate the pulley into place using the first screw as a guide and drill the 2nd
- Apply some silicone to the screw and insert it into your new hole.
- Repeat steps 2-4 on the back of the boat, keeping the pulleys in a line.
- Find a convenient location that is easily reachable from the seat to mount your cleat or lever loc. Drill the holes using the cleat as a guide just like you did with the pulleys. Apply silicone to the screws and screw them into place.
- Thread the cordage through the top of the pulleys and run it along the side of the boat tying one end of the cord to the ring with an overhand knot.
- Pull the other end of the cord tight and tie it off with another overhand knot.
- Take the top cord and decide at what height you want it to run. Place the pad eye for the front and the rear of the boat, splitting the distance between the pulleys, use silicone to seal the screw holes.
- Make sure everything moves freely when you pull on the top cord, and make sure you can lock it into place using the cleat.
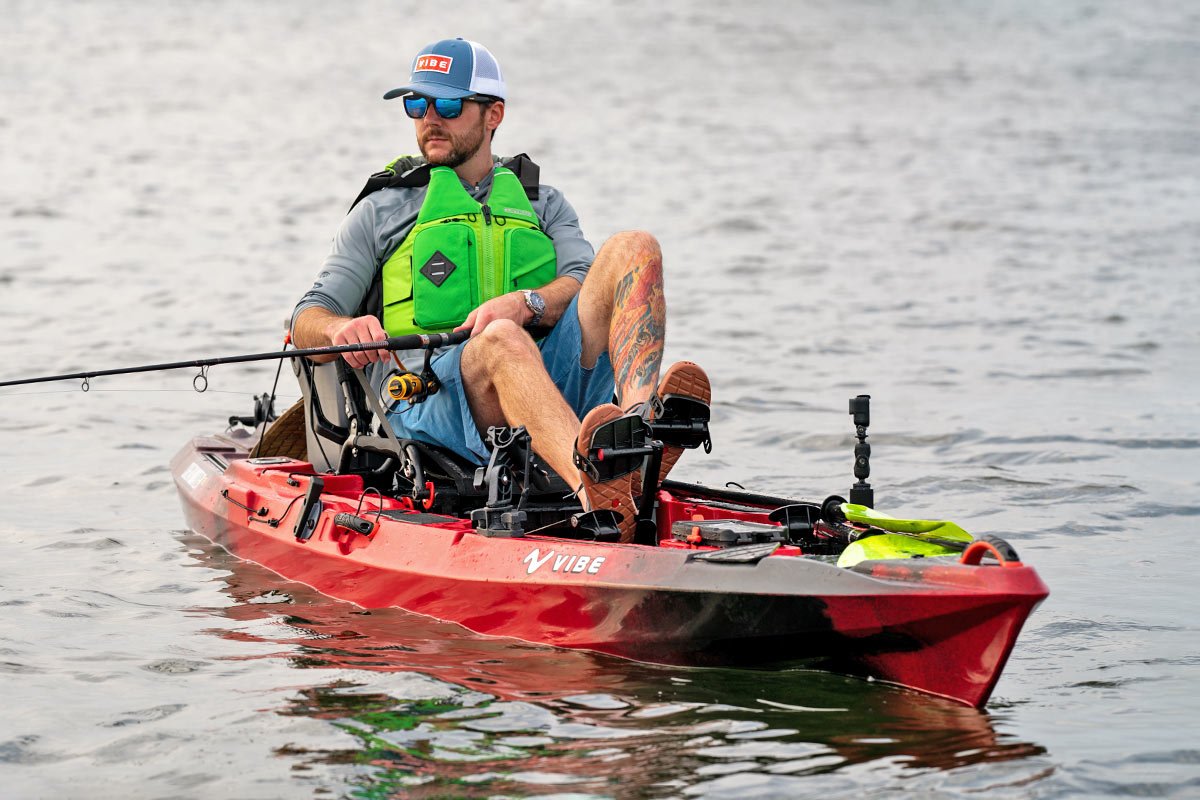
Utilizing an anchor trolley will not only keep you safer from the danger of current, it will help you position your boat so you can keep casting and not worry about moving. Figuring out what works best for you as an individual and developing a system to properly and safely utilize an anchor trolley is something that will improve your adventures significantly.
No Drama, Just Adventure.
 30 days money back guarantee
 1000+ Happy customers